Simple REST API using Node,Express and MongoDB

This is a beginners guide to create a simple REST API which contains basic CRUD operations(Create,Read,Update,Delete) using Node.js,Express js framework and MongoDB.
Prerequisites
-
Node js
-
MongoDB
-
WebStrome (IDE)
-
RESTClient- to test the REST API
Creating the API
Open your WebStrome IDE and Go to File ->New -> Project >Empty Project Select the location you want to create the project
and hit Create button.
Folder Structure
Demo
|_______DBSchema
|_____DBConfig
|_______UserController
|_____Controller.js
|_____User.Route.js
|_______app.js
|_______Routes.js
1st we need to convert
this empty project into Node project(Initializing the application with
package.json file.
Open a terminal in the IDE or go to the Demo
folder and open a terminal. And run npm init command ,enter all the
dependencies (I kept all the dependencies as default) finally type yes.
If you run the command right, package.json
file should be automatically created in the Demo directory with the
dependencies.
Then we need to add express, mongoose and
body-parser modules .before that make sure that you’re connected to
internet.Then run
npm intall express body-parser mongoose --save
command in the terminal.
npm intall express body-parser mongoose --save
command in the terminal.
Create a app.js file in Demo directory
Demo
|_________node_modules
|_________package.json
|_________package-lock.json
|_________app.js
Inside the app.js file enter the following code.(app.js handles
all the server requests.)
//Handles all the Server Request
const Express =require("express");
const BodyParser =require("body-parser");
const app = Express();
app.use(BodyParser.json());
app.listen(8088,'localhost',function (err) {
if(err){
     console.log(err);
     process.exit(-1);
}
  console.log("Server  listening port 8088")
})
Now run the app.js file using node app.js command.
create a directory as DBSchema to keep all the configuration
files.create a javaScript file as DBConfig inside that directory and add the
following code.
Demo
|_______node_modules
|_______package.json
|_______package-lock.json
|_______DBSchema
|_____DBConfig
|_________app.js
create a directory named as UserController and create a javaScript
file Controller.js inside that directory and add the following code.
Demo
|_______node_modules
|_______package.json
|_______package-lock.json
|_______DBSchema
|_____DBConfig
|_______UserController
|_____Controller.js
|_______app.js
var mongoose = require("../DBSchema/DBConfig");
var UserSchema = mongoose.model('User');
//create controller class and create functions in it
var Controller = function () {  }
module.exports = new Controller();
create another javaScript file User.Route.js inside the
UserControlller directory and add the following code
var Express = require("express");
var router = Express.Router();
var Controller = require("./Controller");
module.exports = router;
Create a Routes.js file inside the Demo directory and add
following code.(Router.js handles all the function paths)
Demo
|_______node_modules
|_______package.json
|_______package-lock.json
|_______DBSchema
|_____DBConfig
|_______UserController
|_____Controller.js
|_____User.Route.js
|_______app.js
|_______Routes.js
var Routes = Express.Router();
var UserRoute = require('./UserController/User.Route');
Routes.use('/user/', UserRoute);
module.exports = Routes;
Then modify app.js by adding these 2 lines of code
const Routes= require("./Routes");
app.use('/',Routes);
Perform CRUD operations
You need to download and install mongoDB if you haven’t installed
into your machine before.
If you have installed mongoDB in C:\Program Files\MongoDB.
In the C: drive Create a folder called Data and inside that,
create a folder called db
C:\data\db
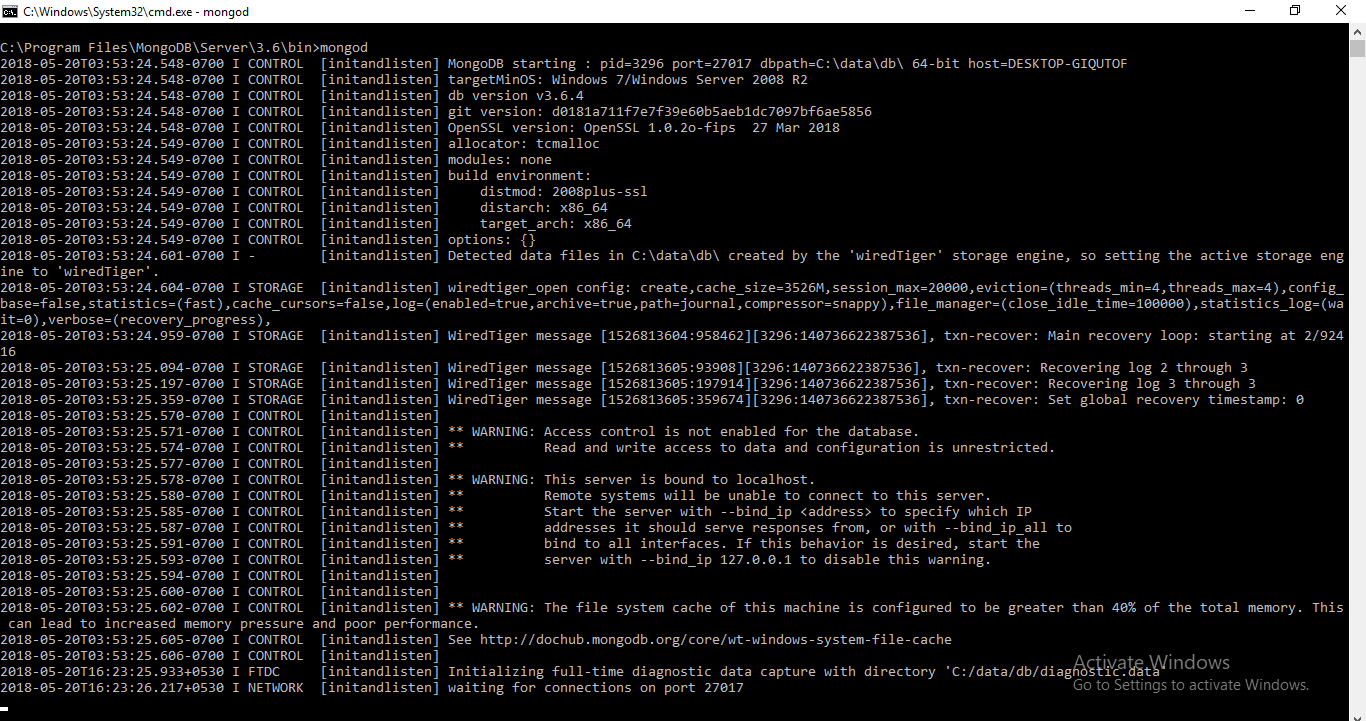
Now go to C:\Program Files\MongoDB\Server\3.6\bin
Open a terminal and run the command mongod
Create User
First Create a createUser
function in the Controller.js file as follow.
this.CreateUser = function (data) {//to create asynchronous behavoir we use promisesreturn new Promise(function (resolve, reject) {
        var User = new UserSchema({
            _id:data._id,
            name: data.name,
            address: data.address,
            password: data.password
        });

        //save user details. save function in schema model

        User.save().then(function () {
        resolve({status: 200, message: "User inseted successfully!"});

        }).catch(function (err) {
            reject({status: 500, message: "Error: " + err});
        })
    });
};
Then create a post request in
User.Route.js file
router.post('/', function (req, res) {
//.then
use because og insertUser return a promise instance Controller.CreateUser(req.body).then(function (data) {
res.status(data.status).send({message: data.message});
}).catch(function (err) {
res.status(data.status).send({message: err.message});
});
});
Run the server using the
command node app.js
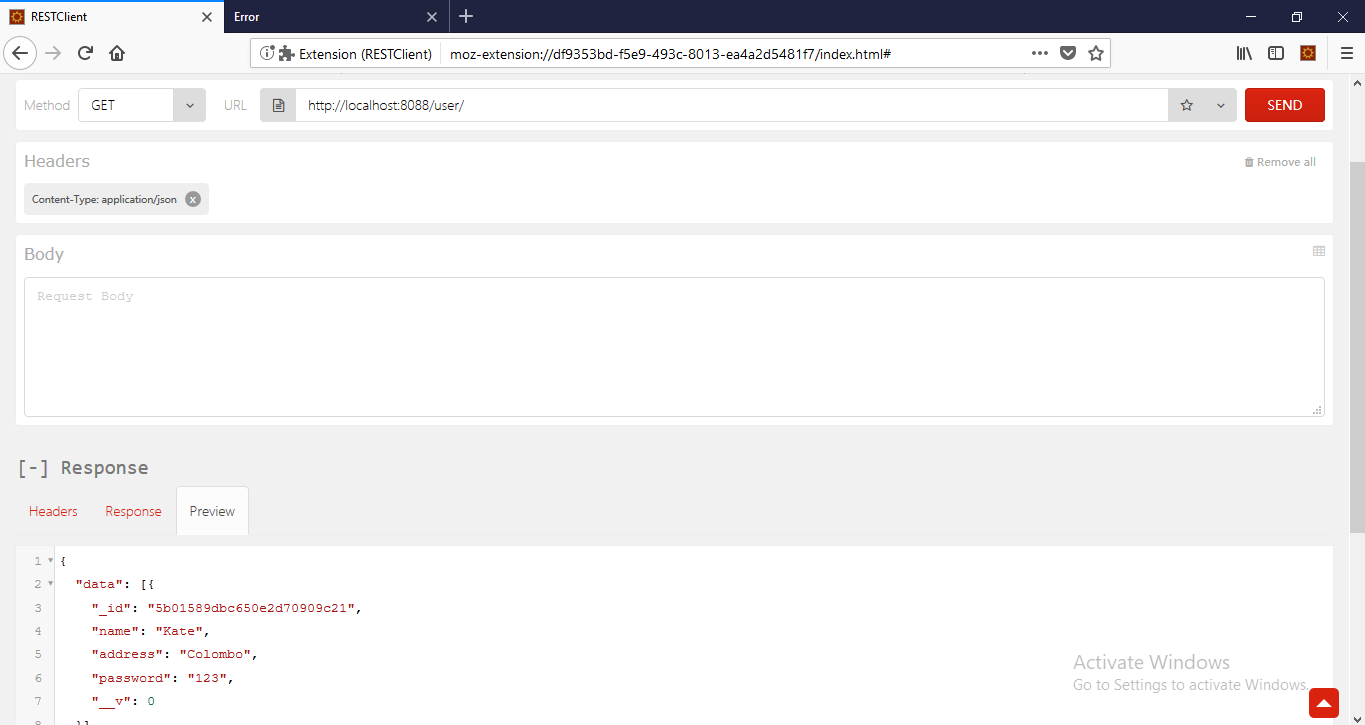
Open RESTClient from
your firefox browser and set Requst headers as follow.And test POST request.if
you get status code as 200.you have perform your get request successfully.


Get all users
Create a getAllUsers function in the Controller.js file as follow.
this.getAllUsers = function () {
return
new Promise(function (resolve, reject) {
UserSchema.find().exec().then(function (data) {
resolve({status: 200, Userdata: data});
}).catch(function (err) {
reject({status: 404, message: "No data"});
})
})
};
Then create a GET request
in User.Route.js file
router.get('/', function (req, res) {
Controller.getAllUsers().then(function (data) {
res.status(data.status).send({data: data.Userdata});
}).catch(function (err) {
res.status(data.status).send({message: err.message});
console.log("error in get function")
});
});
Run the server using node app.js


Get a particular User
Create a getUser function in the Controller.js file as follow.
this.getUser = function (id) {
return
new Promise(function (resolve, reject) {
UserSchema.find({_id: id}).exec().then(function (data) {
resolve({status: 200, userSearched: data});
}).catch(function (err) {
reject({status: 404, message: "No data"});
})
})
};
Then create a GET request in User.Route.js file
router.get('/:id', function (req, res) {
Controller.getUser(req.params.id).then(function (data) {
res.status(data.status).send({data: data.userSearched})
}).catch(function (err) {
res.status(data.status).send({message: err.message});
})
});


Update User
Create a updateUser function in the Controller.js file as follow.
this.updateUser = function (id,data) {
return new Promise(function (resolve,reject) {
UserSchema.update({_id:id},data).then(function () {
resolve({status:200,message:"User Updated!"})
}).catch(function (err) {
reject({status:500,message:"Error "+err});
})
})
};
Then create a PUT request in User.Route.js file
router.put('/:id',function (req,res){
Controller.updateUser(req.params.id,req.body).then(function (data) {
res.status(data.status).send({message:data.message});
}).catch(function (err) {
res.status(data.status).send({message: err.message});
});
});


Delete User
Create a deleteUser function in the Controller.js file as follow.
this.deleteUser =function (id) {
return
new Promise(function (resolve,reject) {
UserSchema.remove({_id:id}).exec().then(function (data) {
resolve({status:200,Userdata:data});
}).catch(function (err) {
reject({status:404,message:"Cannot delete user"})
})
})
};
Then create a DELETE request in User.Route.js file
router.delete('/:id',function(req,res){
Controller.deleteUser(req.params.id).then(function (data) {
res.status(data.status).send(req.params.id+" deleted
sucessfully");
}).catch(function (err) {
res.status(data.status).send({message: err.message});
});
});


After seeing your article, I want to say that the presentation is very good and this is very useful for the readers .... thank you for sharing it.
ReplyDeleteNode JS Online training
Node JS training in Hyderabad